In this guide
- Why a Small Chip Is a Big Deal
- Understanding Your Car's Paint Layers
- Step One: Assess the Damage
- Can I Fix Car Paint Chips Myself?
- Finding Your Car's Paint Code
- Step-by-Step: How to Fix Paint Chips on a Car
- Can I Just Paint Over a Paint Chip?
- Fixing Paint Chips and Scratches Together
- What Is Paint Correction on a Car?
- When Does a Car Need Paint Correction?
- Looking After Your Paint in Kuwait's Climate
- Common Mistakes to Avoid
- Final Thoughts
Fixing paint chips is one of those skills that seems harder than it actually is. A stray stone from the road, someone's trolley in a car park, or even just a belt buckle brushing the panel—that's all it takes. One moment your paint is perfect. The next, there's a bare spot staring back at you.
The good news? Most chips are repairable at home. Better still, if you catch them early, the fix is cheap and quick. This guide walks you through the whole job, from spotting damage to matching colour and blending the repair.
We'll also cover the questions that trip most people up: Where's your paint code? Does polishing actually remove clear coat? And when should you hand the job to a professional instead?
Let's start with why these little marks matter more than they look.
Why a Small Chip Is a Big Deal
A paint chip isn't just ugly. It's an open door to rust.
Once the paint breaks, the metal underneath is exposed. Moisture hits that bare metal and rust begins. Ignore chips and they don't stay small—they spread into bigger rust spots over time (Reader's Digest).
A fresh chip caught early? Fast and cheap to fix. A quarter-sized rust spot a few years later? Not so much.
So the timing of the repair matters as much as the technique. Seal that bare spot quickly, and rust doesn't get a foothold.
Why Chips Happen in the First Place
Road debris causes most chips. Loose gravel kicked up by the car ahead of you, or a stone bouncing off the road, hits your car at speed.
The front bumper, bonnet, and lower doors take the worst of it. These face the direction of travel, so they collect the most chips.
Car parks add their own hazards. Door edges, trolleys, tight bays—they all leave their mark on the paint.
Understanding Your Car's Paint Layers
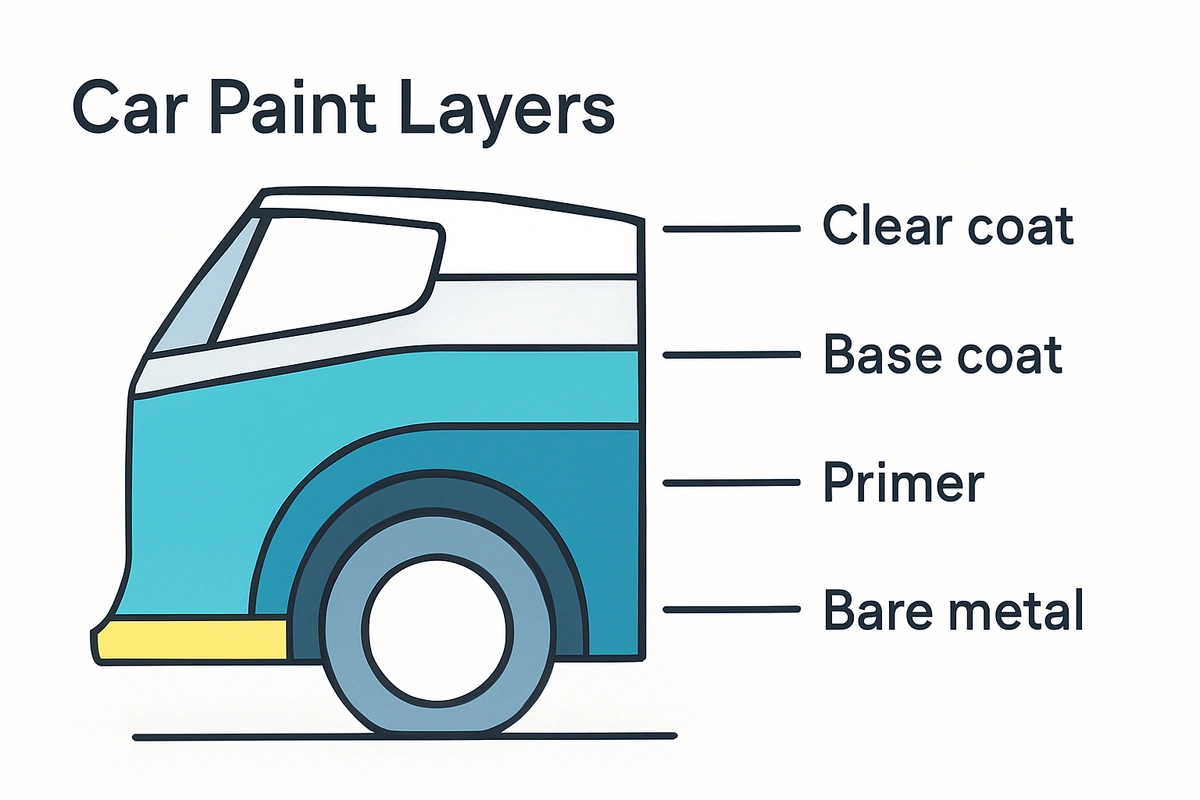
Before you fix a chip, it helps to know what you're actually looking at. Modern car paint is built in layers.
Here's the thing: that clear coat is thinner than most people imagine. The average clear coat on a modern car runs between 38 and 50 microns, or about 1.5 to 2 mils (Permagard). To put that in perspective, a human hair is roughly 70 to 80 microns thick. So most modern clear coats are thinner than a single strand of hair.
This matters because how deep a chip goes determines how you fix it.
Key terms
- Bare metal
- The bottom of the panel, below all paint layers. A chip that reaches bare metal must be primed before painting.
- Primer
- A coat applied above bare metal that helps everything grip to the panel.
- Basecoat
- Carries your car's actual colour. Sits above the primer.
- Clear coat
- A transparent, protective film that gives the paint gloss and shields the colour underneath. On a modern car it runs between 38 and 50 microns—thinner than a human hair.
Step One: Assess the Damage
Not all chips are equal. Start by inspecting the chip and figuring out how deep it went (MotorTrend).
Look closely, ideally in good light. There are three main cases.
The chip stops in the clear coat or basecoat. You can see colour at the bottom. This is the simplest repair.
The chip goes down to the primer. You scuff the area and you're ready to paint.
The chip reaches bare metal. You'll need to apply a little primer first, so your paint has something to grip to.
One more thing to check: has rust already started? Is there a dent alongside the chip?
If you see rust, or have a dent with your chip, you're looking at a more involved fix than a simple touch-up. Bare, un-rusted chips are the ones you can handle at home with confidence.
How Big Is Too Big?
Small chips are ideal for DIY repair. Even a chip about one-fourth the size of a dime can be fixed with a basic touch-up.
Larger areas of missing paint are different. Once damage spreads across a panel or hits bare metal over a wide area, you're moving into professional territory.
And be realistic about results. A touch-up will be visible if someone looks closely, but with the right colour it should disappear from a few feet away.
Can I Fix Car Paint Chips Myself?
For most small, fresh chips, absolutely. This is exactly the kind of repair that rewards patience over skill.
You don't need a spray booth or professional training. You need the right colour, a few cheap tools, and the discipline to let each step dry.
The investment is small. A basic touch-up kit costs almost nothing, and spending a bit upfront saves far more money later.
Two things separate a good result from a bad one: colour match and patience. Rushing is where most home repairs fail. In fact, most problems stem from rushing the job.
What You Will Need
Gather your materials before you start. A simple chip repair needs just a few items:
- Auto body touch-up paint in your exact colour
- A small can of auto primer
- Denatured alcohol
- Polishing compound
- A fine applicator—a small artist's brush or plastic toothpick work best
For applying paint, a fine tool gives you the best control. A plastic toothpick works particularly well because it mimics the capillary effect in modern touch-up systems, drawing paint onto the surface without running over the chip.
Skip cotton buds for the clear coat step. They leave fibres in the paint.
Before you buy paint, though, you need one crucial piece of information: your car's paint code.
Finding Your Car's Paint Code
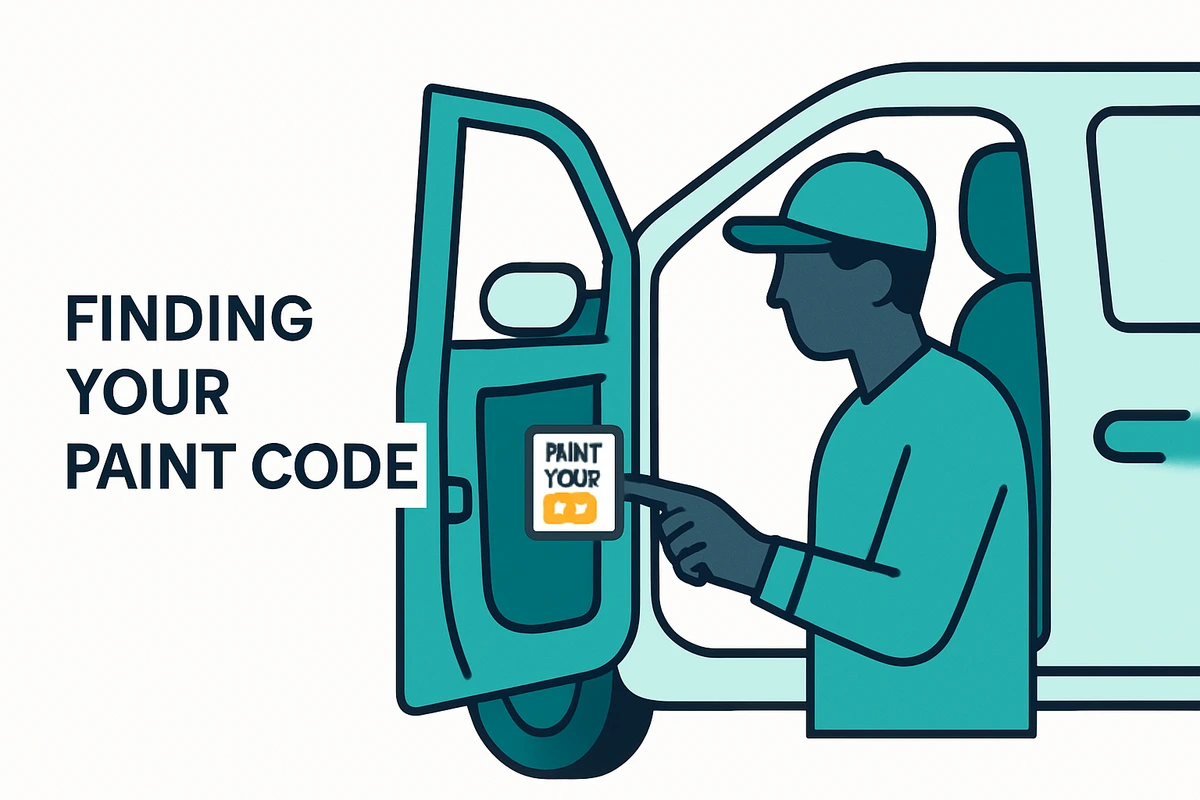
Colour matching starts here. Your car's paint code is the first step in matching vehicle paint so a repair blends with the original finish (AutomotiveTouchup).
Get this wrong and even perfect technique stands out. Get it right and the repair disappears.
Where to Find the Paint Code on Your Car
Your paint code lives on a sticker or plate, not in the owner's manual. The colour code sits somewhere on your vehicle, though exactly where varies by manufacturer.
The code is on the vehicle identification plate, and common locations include:
- Under the bonnet, on the cowl
- Near the radiator shield
- On the jamb of the driver's door
Open the driver's door first and check the frame. It's one of the most common spots and the easiest to reach.
Some owner's manuals tell you exactly where to look. Worth checking before you go hunting.
Is My Paint Code in My VIN Number?
This one trips up a lot of people. The paint code and the VIN are two different things, full stop.
Your paint code sits on its own sticker or plate on the car. It's not the same as the 17-character VIN stamped elsewhere on the vehicle.
Since sticker locations vary between makes, physically locate the paint code sticker rather than assuming the colour is somewhere in the VIN. If you can't find it, a dealer can point you to the right spot for your model.
How to Find Your Paint Code Without the Sticker
Sometimes the sticker is faded, painted over, or just gone. You still have options.
Auto parts stores keep a colour reference at the touch-up paint display. Look up your car's year, make, and model in the booklet to find the factory colours for that year.
If your car came in just one shade of that colour, you're done. If not, you'll need the exact code.
A dealer is your other reliable option. They often carry colours for the cars they sell, and a quick call confirms both the code and the paint.
A Warning About Colour Matching
Even with a code, matching isn't always perfect. A paint store's colour computer can only recommend based on codes in its database, and those are approximations. The older the paint, the more it fades, and the harder it becomes to match. Metallic colours are the trickiest—much harder to match and to apply so the flakes lie down correctly. Paints generally darken as they dry, so you can't judge a match until the paint fully cures. Always test your colour on paper first to check the match and get a feel for how much paint to apply.
Step-by-Step: How to Fix Paint Chips on a Car
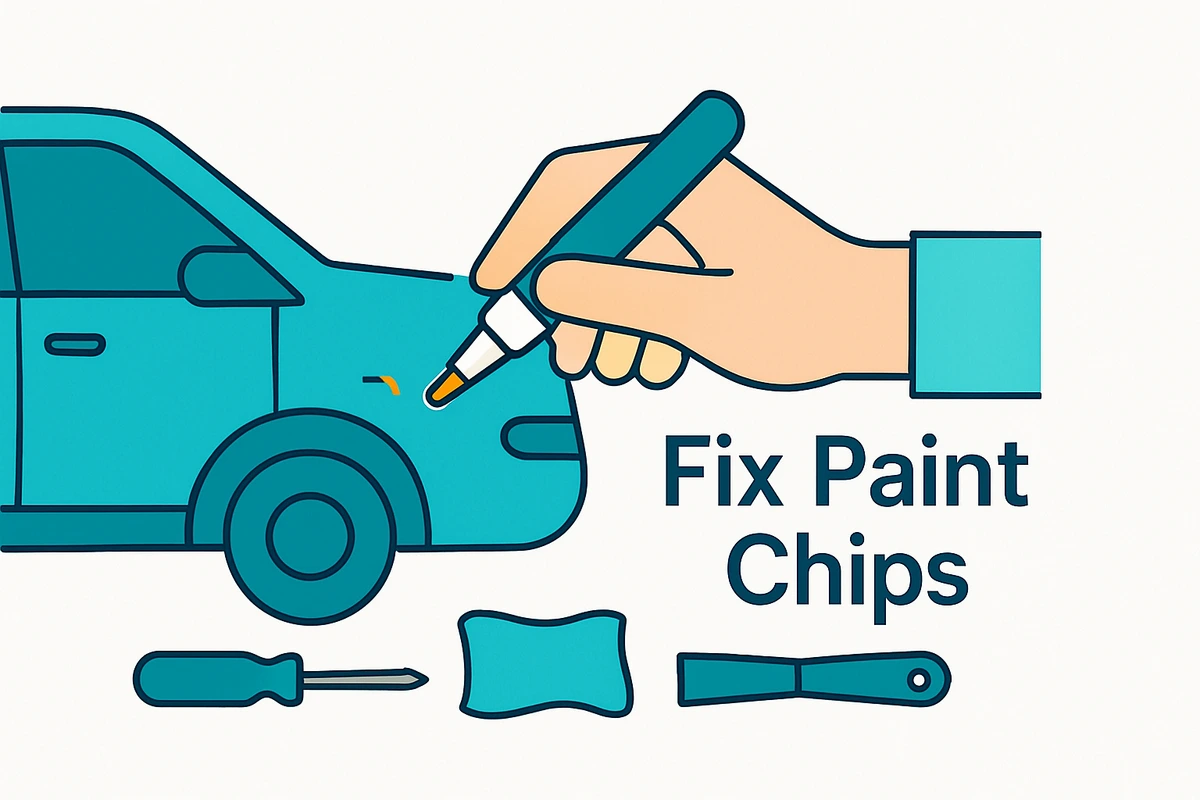
With your paint code confirmed and your materials ready, you can start the repair. Work slowly. Let each stage dry properly.
-
1
Clean the Chip
Start with a clean surface. Wash the chip with soap and water, then dry it with a soft cloth.
Next, soften the ragged edges. Rub some automotive polishing compound over the chip—just a dozen swirls or so. Don't overdo this. Too much rubbing damages the clear coat around the chip and leaves a cloudy mess.
-
2
Degrease the Area
Paint needs a clean, wax-free surface to bond to. Clean the area with denatured alcohol, using just a few light wipes.
Don't flood the area. A light wipe removes wax and grime and preps the chip for primer. On serious repairs, professionals go further—they use an automotive degreaser and de-waxer before sanding, so a generic cleaner doesn't react with the paint.
-
3
Prime Bare Metal
This step only matters if the chip reached bare metal. If it did, primer is essential.
Apply a spot of primer with the butt end of a paper match, filling the chip and just touching the surrounding paint. Then wait. Let the primer dry for at least half an hour before moving on. The primer gives your colour a base to grip.
-
4
Apply the Colour
Now for the paint. Put a small amount of colour over the primer, building it up gradually.
Thin layers beat one thick blob. Take your time and let the paint dry completely before adding the next coat. Expect several applications. Most repairs need two coats. Apply a second about an hour after the first.
The goal is to fill the chip level with the surrounding paint, not overflow it. Using a plastic toothpick, you can draw the paint down so it won't run over the sides.
-
5
Cure and Blend
Curing takes longer than drying. Let the paint cure for several days before the final step.
Once cured, blend the repair. Gently rub it out with polishing compound to feather the edges into the surrounding paint. If you're working on a larger, more visible repair and choose to level it with sandpaper, use very light pressure and go slowly. It's dangerously easy to cut through the paint, and one reason chips form in the first place is that the paint may be thin in that area.
Can I Just Paint Over a Paint Chip?
Tempting to dab colour straight onto a chip and call it done. Don't. Skipping preparation is the fastest way to a repair that peels or stands out. The clean, degrease, and prime steps exist for a reason. Paint needs a clean, wax-free surface, and bare metal needs primer.
Here's another catch: pre-mixed touch-up paint isn't catalysed, which means it stays softer than the factory paint on your car. A softer repair may age differently, so patience during curing matters.
So the honest answer is this: you can paint over a chip, but only after you clean it, prime any bare metal, and match the colour. Do that and the repair lasts. Skip it and you'll redo the job soon enough.
Fixing Paint Chips and Scratches Together
Chips and scratches often show up near each other. They're not quite the same problem, though.
A chip is paint knocked away. A scratch is a line dragged across the surface, and how you treat it depends on depth.
Light scratches that sit only in the clear coat can often be polished out, because polishing removes a thin layer of clear coat to level things. These respond to the same gentle compounding you'd use to blend a chip.
Deeper scratches are different. A scratch that cuts through the clear coat and into the colour beneath can't be polished away—the only fix is repainting.
Treat each mark on its merits. Fill and prime the chips, polish the shallow scratches, and flag anything that hits bare colour for a professional.
What Is Paint Correction on a Car?
Once you start caring about paint, you'll run into the term paint correction. It sounds technical, and it is. Worth understanding before you pay for it.
Paint correction removes surface imperfections from your paint. Swirl marks, scratches and micro-scratches, oxidation, hard water spots.
It's done by machine. A multi-stage machine polishing routine uses a rotary, dual-action, or gear-driven polisher combined with liquid compound.
The result is a genuinely restored finish, not a cover-up. Unlike simple wax or cheap polish that only masks defects, correction carefully levels the clear coat to remove them, leaving a smoother, clearer surface.
Is Paint Correction the Same as Polishing?
Not quite. Polishing on its own tends to enhance the look of paint. Correction is more involved—it actually removes imperfections from the clear coat (M&M Auto Detailing).
Think of it as a spectrum. A quick polish brightens the surface. Correction resets it.
There's also a lighter option called paint enhancement. It uses all-in-one products to disguise minor scratches and soften swirl marks, but it doesn't fully correct defects the way correction does.
Does Paint Correction Remove Clear Coat?
Yes. And every careful owner should ask this question.
Each stage of correction removes a thin layer of clear coat. To remove imperfections in the clear coat, you have to remove a thin layer of the clear coat itself. Clay barring, compounding, and polishing all shave off a little.
Because your clear coat is so thin to start with, this has a limit. Most vehicles can only handle three or four effective paint correction sessions in their lifetime.
That's why correction isn't a routine wash-day habit. Do it when your paint genuinely needs it, and protect the finish afterwards so you don't have to do it again soon.
Will Paint Correction Remove Scratches?
Some, but not all. It depends on depth.
Correction works well on defects embedded in the clear coat—swirl marks, light scratches, micro-scratches. These live in the top layer, which is exactly where the machine polisher works.
Anything deeper is out of reach. Paint correction can't remove scratches that cut through the clear coat into the basecoat, and those need repainting.
When Does a Car Need Paint Correction?
Correction isn't something every car needs on a schedule. It's a response to specific wear.
The most common trigger is swirl marks. These usually come from improper washing and drying—dirty towels, skipped lubrication.
Automated car washes are a major culprit. They create lots of micro-scratches and swirl marks over time.
Other signs point to correction too. Oxidation, fading, water spots, etching—these are exactly what correction is designed to handle.
The sensible rule is restraint. Be completely certain your paint needs correction before it's done, so you're not unnecessarily shaving away valuable clear coat.
Do You Need a Ceramic Coating After Paint Correction?
You don't strictly need one, but protecting the paint afterwards is smart. First, let's clear up a myth.
You might hear that correction is mandatory before any ceramic coating. Not true. A ceramic coating can go on any painted surface, provided it's not oxidised.
What matters is protecting the finish once it's corrected. If you correct an oxidised surface and add nothing, oxidation will eventually return. A coating or sealant keeps the corrected paint looking good.
Professional or DIY Paint Correction?
You can attempt correction yourself, but the stakes are higher than chip repair. Machine polishing is a real skill.
DIY correction
- Can save money if you're willing to invest time learning the process
What to know
- Danger of causing damage with the wrong polisher or compound
- Lots of trial and error
- Requires years of experience across many different paint types
- A professional is often the safer choice
How Long Does Paint Correction Take, and What Does It Cost?
Both depend heavily on paint condition. There's no single number.
On time, the range is wide. A one-stage correction might take around half a day. A full multi-stage job can take up to 25 hours of labour, spread across two days to a week.
Cost follows the same factors. Professional paint correction ranges from a few hundred dollars for a basic package to significantly more for detailed, multi-stage work—driven by vehicle size and condition.
Larger vehicles cost more because there's more surface area to correct. Heavier damage adds time, and time is most of the cost.
Looking After Your Paint in Kuwait's Climate
Kuwait puts paint under real pressure. A few local habits make a significant difference. None of this changes the repair steps above, but it changes how carefully you protect the finish.
Heat and sunlight are the first challenge. Touch-up work benefits from a stable, moderate temperature. Avoid repairing in direct blazing sun where paint can flash-dry before it settles. A shaded area or the cooler part of the day works better.
Dust and fine sand are the second. Airborne grit is abrasive. Dragging it across the paint during washing is how you create swirl marks and micro-scratches that correction later has to fix. Rinse loose dust before you touch the panel with any cloth.
Hard water is the third. Water spots and etching are genuine paint defects, caused by mineral-laden droplets drying on the surface. Dry the car promptly after a wash instead of letting droplets bake on in the sun—it's the simplest defence.
The practical takeaway is gentle, careful washing. Frequent automated washes cause swirl marks, so a careful hand wash and prompt drying protect your paint far better in these conditions.
Common Mistakes to Avoid
A few recurring errors turn a good repair into a visible one. Watch out for these.
Rushing the job. Most repair problems come down to rushing. Let every coat dry fully before the next.
Judging the colour too early. Paint darkens as it dries, so a match that looks off wet may settle in once cured. Test on paper first.
Over-polishing the edges. Too much compound around a chip damages the clear coat and leaves a cloudy patch.
Correcting paint that doesn't need it. Every correction thins the clear coat. You only get a few sessions in a car's life, so be sure it's needed.
Ignoring bare metal. A chip down to metal must be primed. Without it, the colour won't grip and rust can creep underneath.
Frequently asked questions
Can I fix car paint chips myself?
For small, fresh chips that haven't started to rust, yes. Even a chip about a quarter the size of a dime can be repaired at home with touch-up paint, primer, and polishing compound.
Where is the paint code on my car?
It's on a sticker or identification plate whose location varies by manufacturer. Common spots are the driver's door jamb, under the bonnet on the cowl, or near the radiator shield.
Can I just paint over a paint chip?
Not without preparation. You need to clean the chip, degrease it, and prime any bare metal so the paint grips and the repair lasts.
Does paint correction remove clear coat?
Yes. Every stage removes a thin layer of clear coat. Most cars can only handle three or four effective correction sessions in their lifetime.
Will paint correction remove scratches?
It removes scratches that sit in the clear coat, but not ones that cut through into the colour beneath, which need repainting.
Is paint correction the same as polishing?
No. Polishing mainly enhances the look, while correction actually removes defects from the clear coat.
Final Thoughts
The bottom line
Fixing paint chips is one of the most satisfying things you can do for your car. Catch the chip early, match the colour carefully, and let each step dry. The repair will practically disappear.
Knowing your limits helps too. A shallow chip is a home job. Deep scratches, widespread rust, full paint correction—hand those to trained hands and proper equipment.
If your car's paintwork needs more than a touch-up, Posefore Wash & Polish offers professional Paint & Detailing across Kuwait, from careful correction to lasting protection. Whatever your paint needs, treating it gently and acting early is always the smartest move.